July to Dye for!
July to Dye for!
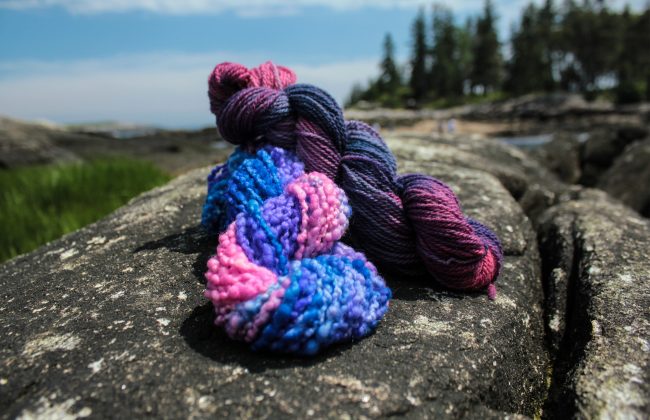
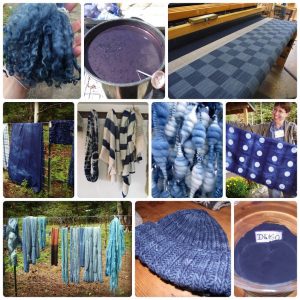
With long bright days and flowers in bloom, July is an all out celebration of color! Join us throughout July as we explore dye techniques, share limited edition hand-dyed yarns and projects, meet some talented dyers, and feature great deals on some our favorite color and dye resources…
Here are a few things to consider before you dive into the dyepot!
Which dye is for which type of fiber?
Country Classic and Wash Fast Acid Dyes for Protein Fibers (animal based): including wool, mohair, alpaca, and silk. Acid dyes also work for nylon, but not other synthetic fibers.
Procion Dyes for Cellulose Fibers (plant based): including cotton, linen, hemp, rayon, tencel, and bamboo.
Many natural dyes can be used on either protein or cellulose fiber, and will produce somewhat less predictable results than their synthetic counterparts.
Note that most synthetic fibers will not dye well for the home-dyer. Synthetics are essentially petroleum (plastic) based materials and the color is already part of the material. The most you can do at home is to “stain” the lighter colors.
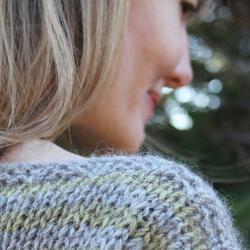
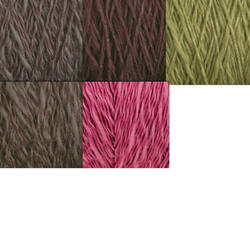
In yarns that are a blend of fibers, you can achieve some really interesting tonal effects, since each fiber will take the color a little differently. A couple of examples of that are the Halcyon Signature Block Island Blend, and Juniper Moon’s Moonshine Chunky.
In the [Sorry, item discontinued or temporarily out of stock] , you can see how the wool, alpaca, and silk each take the dye differently, with the silk absorbing color the least to give the yarn a heathery highlighted effect within the blend.
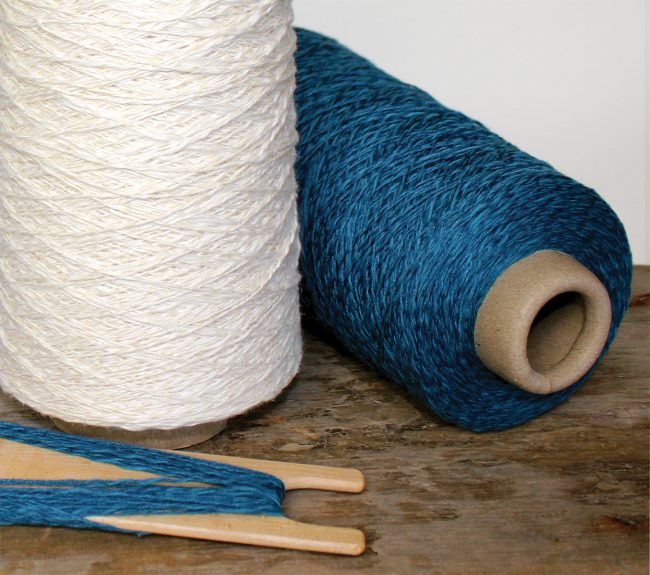
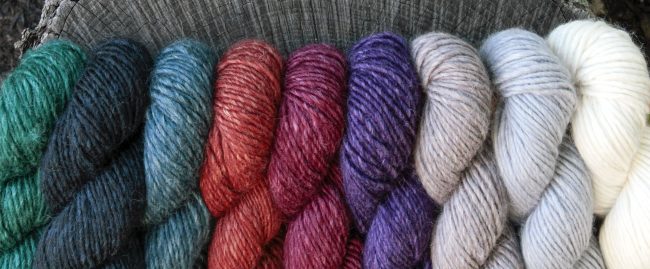
Block Island Blend Yarn combines three separate plies, unlike the “intimate” blend of Moonshine. Each ply is a different cellulose fiber: linen, cotton, and rayon. Again, the differences in how each fiber takes the color give the yarn great depth from a single dye bath!
Be safe!
Please wear gloves, and be cautious with the heat and chemicals involved. Tools like pots, spoons and tongs should not be used for food preparation once they’ve been used for dyeing. If you are dyeing outside, don’t dump the dye bath or rinse water into your lawn or outdoor drain, as this can cause problems for plants and wildlife. Remember, even natural dyes and mordants are chemicals and can cause skin or respiratory irritation so always make sure you have plenty of good ventilation. Keep kids and pets safely out of the way. Dyeing can be a great summer activity with kids, but it should always be supervised!
Basic tools for getting started…
You’ll decide what is necessary depending on your space and the amount of materials you’re working with, but here are a few tools to consider before you get started. Many of these are things you already have, or can find inexpensively at the grocery or hardware store. Don’t use any tools you’ll want to use for cooking with again, once dyed with they are forever more dye equipment!
- Most dyeing can be done on a kitchen stovetop, but if you prefer to work outside or in another space, a portable burner is a great tool. You can get an inexpensive electric burner or butane fired camping stove at most hardware stores.
- A dyepot or three! We recommend a plain stainless steel cooking pot, or lobster pot with handles. You can often find these at thrift stores in the homewares section.
- A long handled stirring spoon and/or tongs are helpful for stirring the pot as well as lifting the yarns up during or after dyeing.
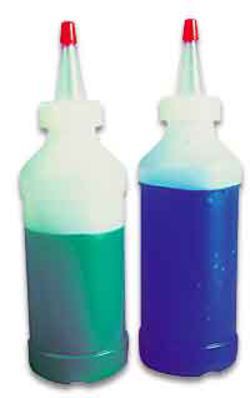
- Squeezy Bottles! These 8 oz Squeeze Bottles are great for laying on precise amounts of color and keeping your colors organized. They also make for less mess when applying dye to a warp, piece of cloth, or skein/fiber in a shallow pan.
- Glass Jars, like a clean baby food jar or mason jar. You can store mixed dyes for several months in a tightly closed glass jar. Just label them with some tape so you know what colors you have and when you mixed it!
- Gloves and, if you are mixing colors, you may also want a basic dust mask.
- A drop cloth, tarp, or plastic sheeting to protect your space.
- Drying rack or clothes line. You can always hang things in your shower too after rinsing, but be careful where you dry, as excess dye may drip out and stain.
- An extra plastic bucket or two is helpful for transporting wet skeins, or for mordanting or pre-rinsing your fibers.
Natural Dye Classes!
If you’re in the area, join us next weekend for natural dye classes with the wonderful Jackie Ottino Graf. Saturday July 8th is Natural Dyeing for Beginners, and Sunday July 9th is Indigo Dyeing for Fiber Artists. Both are from 9:00 am to 4:00 pm and materials are included.
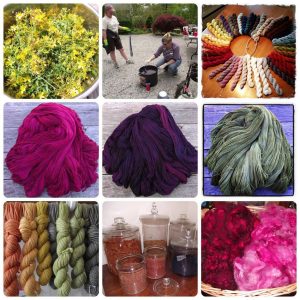
Natural Dyeing with Jackie Ottino Graf
Saturday, July 8 • 9:00 am – 4:00 pm
Indigo Dyeing with Jackie Ottino Graf
Sunday, July 9 • 9:00 am – 4:00 pm
We’re here to help!
Call or email us if you’d like a little advice or are planning a project – we’re happy to help you find the right yarns, fibers, and tools. Most importantly, have a sense of adventure. There’s no “wrong” color, only a spectrum of happy accidents… Whether it’s fireworks, flowers, or a bubbling cauldron of fiber, we’re excited for a cacophony of color all month!
Related items of interest: • Our yarns • Fine weight yarns • cotton blend yarns • Dyeing Equipment