Dyeing yarn for beginners – Experimenting with effects Part I
Dive in and experiment!

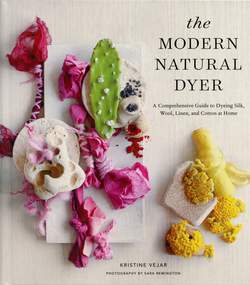
Despite having spent my entire life frolicking in fiber, I have never made any real attempts at dyeing my own yarn. Well, that’s not entirely true. As a teenager, I dyed some of my handspun with Kool-Aid. That became a super long neon green scarf that I still wear to this day. I have a copy of The Modern Natural Dyer at home that has sparked endless inspiration, but I’ve always felt very overwhelmed by the whole dyeing process. Different fibers require different amounts of pre-treatment, sometimes there’s that whole mordant thing, and don’t even ask me about fixatives. I decided it was about time I learned a thing or two about this wonderfully vibrant art form.
This was entirely for selfish reasons, of course. Most of you have probably seen the beautiful splatter effect that is popular among lots of indie dyers, and is making an appearance in commercial yarns as well. I covet this yarn, and have always wondered how they do it. A quick internet search yields a TON of blog posts and DIY how-to’s for creating your own splatter dyed yarn; I spent more time than I’d care to admit down that rabbit hole, and I ended up piecing together my own process for trying out this effect.
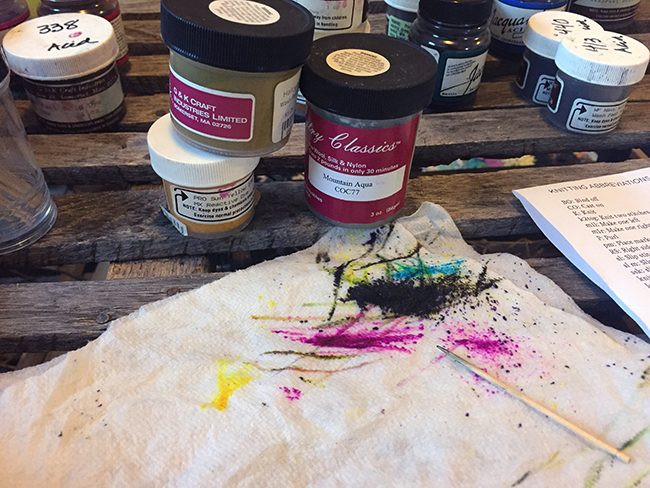
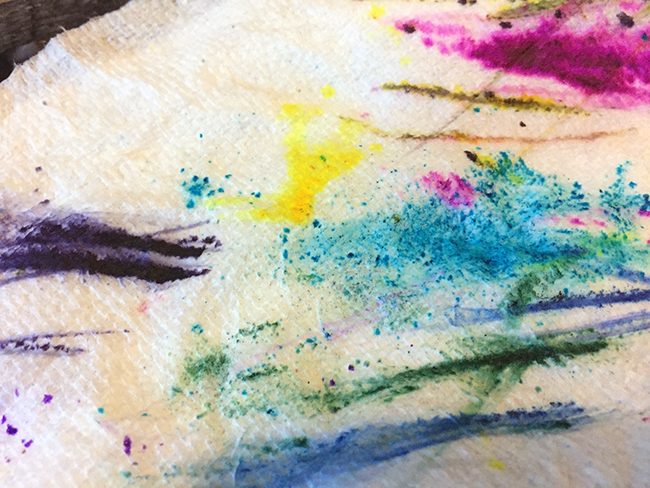
There are many benefits to working at a yarn shop. After raiding our classroom for unused dye supplies, I arrived home with a baggie of mystery acid dye colors. What will this Hot Fuchsia look like? How will Sapphire Blue compare to Brilliant Blue? I didn’t have a sample card, so I wet a paper towel, wrung it out and laid it on my work table. I then used a toothpick to pick up just a little dye powder, which I smeared on the damp paper towel. This gave me a better idea of what color the dye actually was.
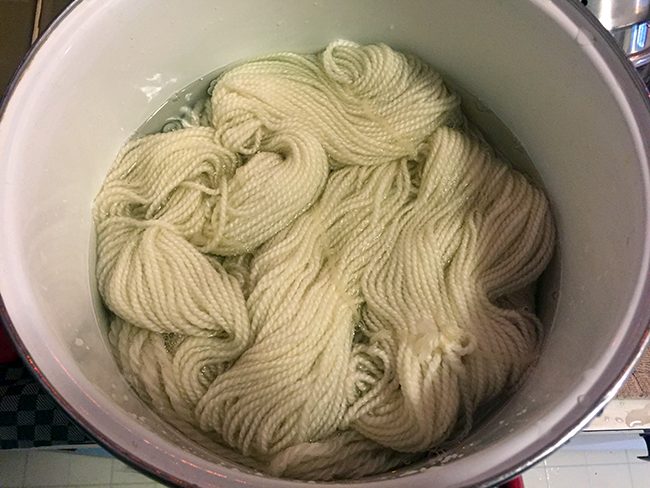
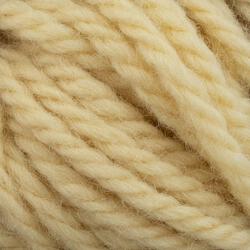
Meanwhile, I soaked the yarn in a mixture of mostly water, with about 2 tablespoons dish soap and 12 tablespoons white vinegar. (That’s Norumbega Yarn on top, but hiding underneath is a skein of Halcyon Yarn Rug Wool). I left that to soak for a while, while I got my other supplies out. Once I was ready, I gently removed the yarn from the water and squeezed as much excess moisture out as I could. I’m always paranoid about felting, so I was VERY gentle. I briefly considered putting this skein in the salad spinner to really get some water out… maybe next time.
The next step is to lay your yarn out on a surface that can get messy. I used a large cookie sheet, and it worked just fine. Once your yarn is spread out in front of you, and your tools and colors are organized, you’re ready to start dyeing. Again, there are a lot of different approaches with many different techniques out there. I pieced together my own approach from multiple different sources. With this particular skein, I started out mixing the dye according to the instructions on the jar. That just means I added some dye powder to boiling water; they give you exact measurements on the jar, but of course I didn’t follow them. I added the dye to my water until I liked the color it became. Then I went into the kitchen for a fork.

Isn’t it magical? You dip the fork in the dye, and stab at the yarn a bit. The first stab will be more concentrated, and you can keep stabbing until there’s no more dye on your fork tines. Dip it in the dye again, and repeat until you reach a level of coverage that you’re happy with.
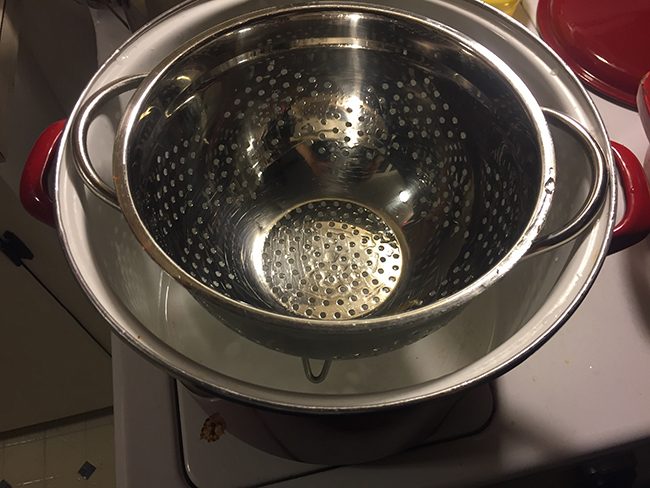
Now the dye needs to be set. This step requires heat, and I came up with a few different ways to do that. For this particular skein, I made a makeshift steamer out of a colander set inside a lobster pot. I added about an inch of water to the bottom of the pot, stuck the yarn in the colander, put a lid on it and let it simmer for 20 minutes. The heat is what “sets” the color. Once those 20 minutes were up, I removed the lid and allowed the yarn to cool completely.
Remember to use different equipment than you’ll use for cooking food – check out thrift stores for great used kitchen tools to set up an affordable dye studio of your own!
One more step, and I promise it’s done! Once the yarn cools, it needs a final rinse. I took the lobster pot that I’d used for the steaming process, filled it with warm water (not hot!), and added a squirt or two of dish soap. I gently immersed the freshly dyed yarn in this bath, gently swirled it around a bit, and continued to do so until no more color came out of it.
Tip: If there’s still a bit of color in the water add a splash of white vinegar to your rinse. This will help loosen and remove any extra dye material, then rinse again in clear water. Remember that when working with protein fibers you want to treat the yarn gently so it doesn’t felt.
Now it’s time to dry! I always dry my skeins in the shower; we have a shower caddie with a few hooks on the bottom of it, and these are generally occupied with yarn. A drying rack or clothesline will work too, just put down a tarp or garbage bag to protect your floor from drips.
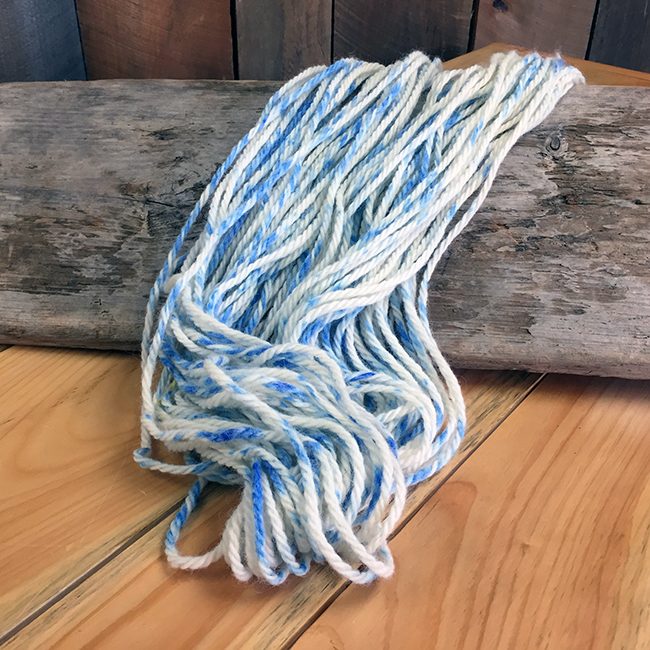
The results of the experiment? As you can see, my finished yarn isn’t quite splattered. I have a hunch that it was too wet when I applied the dye, which caused the color to bleed down the individual ply it was applied to. Or maybe steaming made the yarn extra wet, thus causing a more streaky effect in the color. Or maybe I need a tighter plied yarn? Whatever the variables were, it created a cool tie-dyed effect. Good to know!
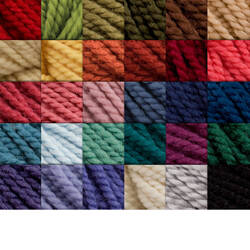
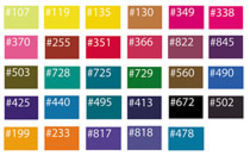
For this project, since I was dyeing wool, I used acid dye. We have a few options when it comes to acid dyes – If you’re interested in trying some dyeing yourself, we’ve got a bunch of things that can help you get started. Something that can come in handy is a sample card: there’s the Wash Fast Acid Dyes Color Card, and the Country Classics Dye Sample Card. These are the two brands I used, and I was quite pleased with how well they worked. They’re meant to be used on protein fibers (stuff that grows on our animal friends). The colors are quite vibrant and color-fast.

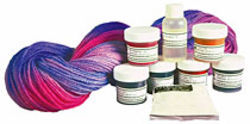
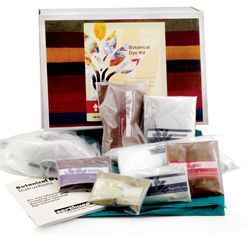
You might also be interested in the 6-color Wash Fast Acid Dye Sampler , which is a great way to get a variety of colors right off the bat. We also have a selection of natural dyes, which will work on either protein or cellulose fibers. Check out the Earthues: Botanical Natural Dye Kit for a starter sampler of the natural variety.
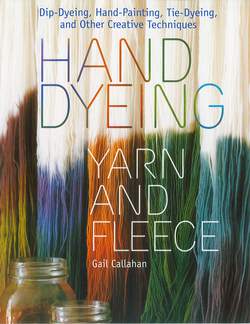
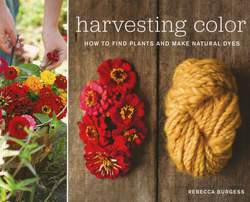
And books! There’s nothing better than a collection of inspiring and informative resources to guide you through your own color experiments. So many beautiful dyeing books feature the most intriguing covers too. Hand Dyeing Yarn and Fleece is a handy resource, and Harvesting Color: How to Find Plants and Make Natural Dyes makes me want to go outside and forage for materials.
Lastly, if you’re looking for some good yarn or fiber to use Wash Fast Acid dyes on, you might want to click here.
The most important thing is to have fun, and don’t be afraid to try things. Hands-on and making a mess is the best way to learn what techniques and colors appeal to you. What are you waiting for? Let’s paint July with dye!
Related items of interest: • Dyeing Books • Our yarns • Medium weight yarns • Wool yarns • Super Bulky weight yarns • Dyeing Equipment • Dyeing Kits